Setting Up Git
Last updated on 2025-04-18 | Edit this page
Overview
Questions
- How do I set up Git?
- What is a token?
- What is a
commit? - What is a
repository? - What is a
branch?
Objectives
- Configure
gitthe first time it is used on a computer.
The Git workflow
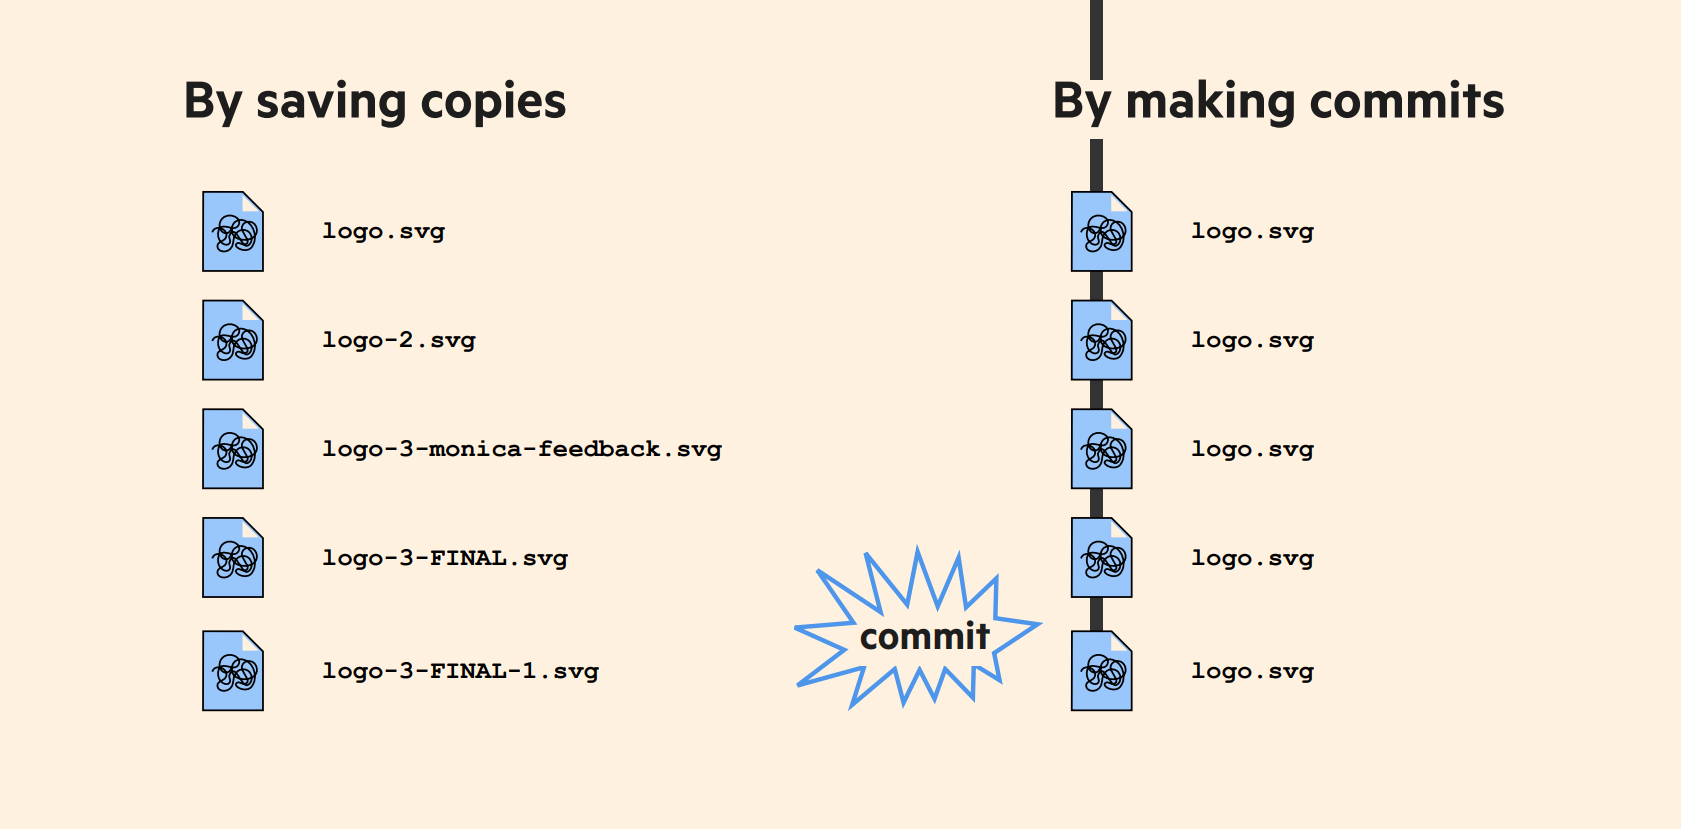
A version control system is a tool that keeps track of these changes for us, effectively creating different versions of our files. Each record of these changes is called a commit. Each keeps useful metadata about them. Instead of saving copies with different file names, we are making commits in the same file. Consecutive commits generate a linear history of changes.

commit. From: https://speakerdeck.com/alicebartlett/git-for-humans
The complete history of commits for a particular project and their metadata make up a repository. Repositories can be kept in sync across different computers, facilitating collaboration among different people.
Before creating our first repository, we need to setup Git. So, let’s open RStudio and introduce yourself to Git!
The RStudio Console
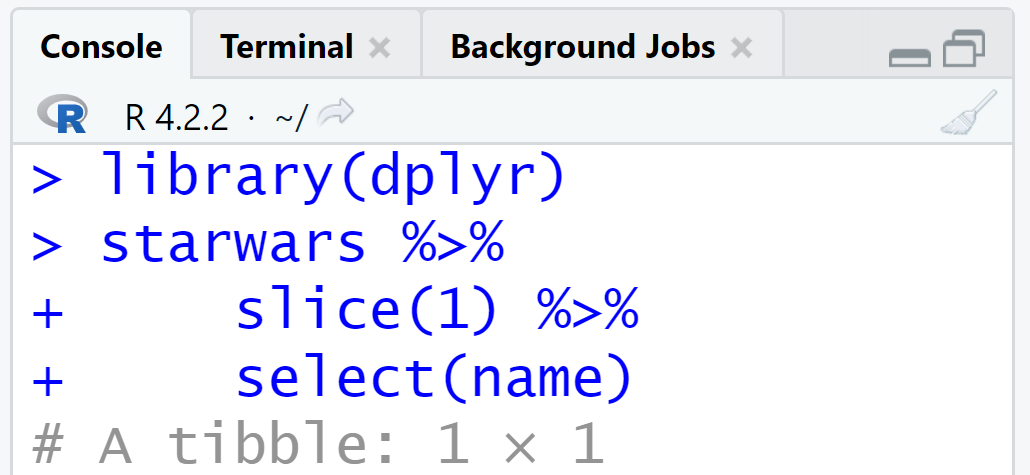
In this episode, we are going to use the RStudio Console.

Set up Git
When we use Git on a new computer for the first time, we need to configure a few things. Below are a few examples of configurations we will set as we get started with Git:
- our name and email address,
- and that we want to use these settings globally (i.e. for every project).
You can set your Git user name and email from within R using the usethis package.
Using the RStudio Console, here is how Dracula sets up his new laptop:
R
# install if needed (do this exactly once):
# install.packages("usethis")

usethis::use_git_config(
  user.name = "Vlad Dracula",
  user.email = "vlad@tran.sylvan.ia",
  github.user = "vlad"
)
Substitute this chunk with your name and the email associated with your GitHub account.
Please use your own name and email address instead of Dracula’s. This user name and email will be associated with your subsequent Git activity, which means that any changes pushed to GitHub, BitBucket, GitLab or another Git host server after this lesson will include this information.
For this lesson, we will be interacting with GitHub and so the email address used should be the same as the one used when setting up your GitHub account. If you are concerned about privacy, please review GitHub’s instructions for keeping your email address private.
Keeping your email private
If you elect to use a private email address with GitHub, then use
that same email address for the user.email value,
e.g. username@users.noreply.github.com replacing
username with your GitHub one.
Let’s confirm your setting. Run:
R
usethis::git_sitrep()
In the ── Git global (user) section, the two first lines
of the output should look like this:
OUTPUT
── Git global (user)
• Name: 'Vlad Dracula'
• Email: 'vlad@tran.sylvan.ia'
To complete the configuration, let’s follow the steps suggested in the situation report.
Set up your GitHub token
To interact with GitHub we need to include credentials in the request. We are going to configure one type of credential called Personal Access Token (PAT). We need this to prove that we are a specific GitHub user, allowed to do whatever we’re asking to do. (Bryan, 2021)
First, let’s create your token.
Do this with usethis::create_github_token(). This
function should redirect you to GitHub on your browser. Once there,
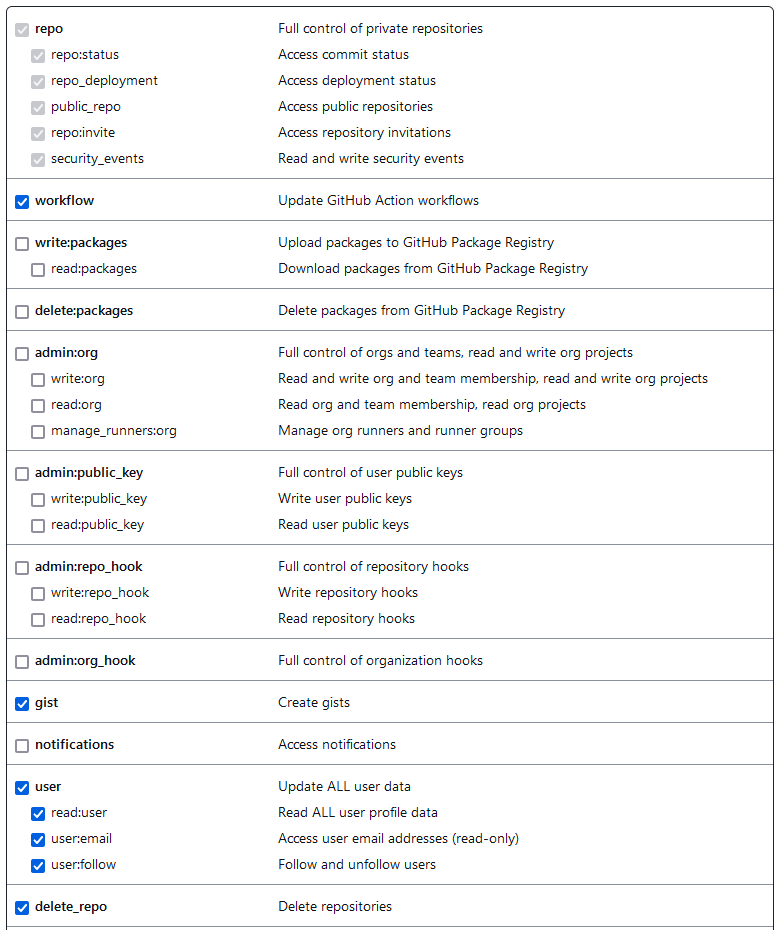
check all the options in the figure below.
R
usethis::create_github_token()
Describe the token use case.
Look over the scopes; the recommended scopes to select are “repo”,
“workflow”, and “user”. When using
usethis::create_github_token() will pre-select all the
recommended scopes for you!
Click “Generate token”.

Copy your token. Save it for the next step.
token options
Briefly:
-
"repo"will give you control of your private repositories online (YES! you can have private repos!). -
"workflow"will allow you to run automated processes for your repository online (This is advanced! so let’s get back to this after the episode on GitHub). -
"user"will allow you to update your user data (as in the first step here).
Second, let’s configure your token.
To complete the configuration of your token use
gitcreds::gitcreds_set() (Bryan, 2021), then
accept that you want to Replace these credentials. Write
the corresponding number and press ENTER.
R
gitcreds::gitcreds_set()
OUTPUT
-> What would you like to do?

1: Abort update with error, and keep the existing credentials
2: Replace these credentials
3: See the password / token

Selection: 2
Paste your token to save it and complete this step.
Lastly, let’s confirm your setting.
Run:
R
usethis::git_sitrep()
In the ── Git global (user) section, the two first lines
of the output should look like this:
OUTPUT
── Git global (user)
• Name: 'Vlad Dracula'
• Email: 'vlad@tran.sylvan.ia'
In the ── GitHub user section, the three first lines of
the output should look like this:
OUTPUT
── GitHub user
• Default GitHub host: 'https://github.com'
• Personal access token for 'https://github.com': '<discovered>'
• GitHub user: 'vlad'
You should recognize your:
- Name,
- GitHub login, and
- Token.
Set up a default branch name
As we mentioned before, the complete history of commits
for a particular project and their metadata make up a
repository. (We are going to create one in the next
episode!)
A branch
is a snapshot of a version of a repository. In that sense, a repository
can have more than one branch. WHAT?!! How is that possible? We are
going to see that in coming episodes!

Git (2.28+) allows configuration of the name of the branch created
when you initialize any new repository. Dracula decides to use that
feature to set it to main so it matches the cloud service
he will eventually use.
Run the code chunk below:
R
usethis::git_default_branch_configure(name = "main")
To confirm this setting, run:
R
usethis::git_sitrep()
In the ── Git local (project) section, almost at the end
of the message, the third line of the output should say
Default branch: 'main':
── Git local (project)
• Name: 'Vlad Dracula'
• Email: 'vlad@tran.sylvan.ia'
• Default branch: 'main'
Checklist
We need to run these commands only once! Git will use this settings for every project, in your user account, on this computer.
And if necessary, change your configuration using the same commands to update your email address. This can be done as many times as you want.
Callout
When using the Terminal, this
step is known as git config with the --global
option. In the next chapter we are going to interact with the
Terminal!
Key Points
- Use the usethis package to configure a user name, email address, and other preferences once per machine.
- Use
usethis::use_git_config()to configure Git in RStudio. - Use
usethis::git_sitrep()to verify your configuration.
